


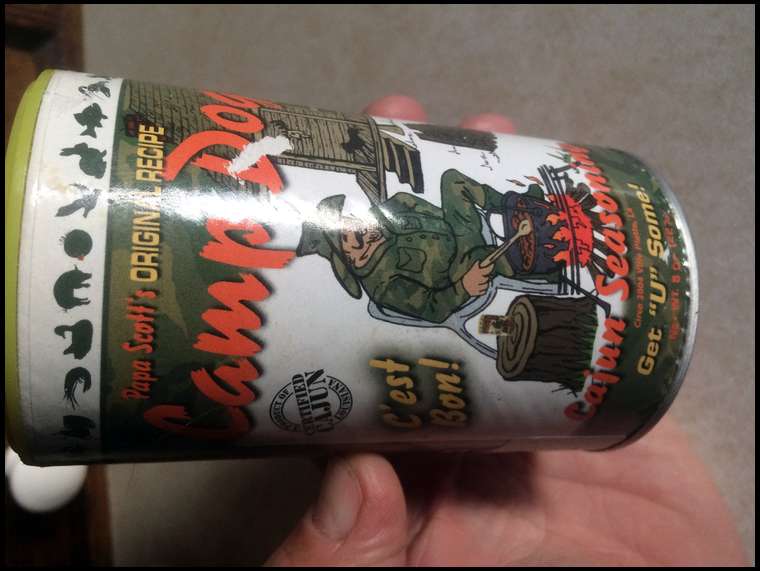
Seasoned and ready to go


Gonna try not to leave any ribs behind anymore
Give them a try!
Question: What'd you do with the rest of the 7up? ;-)
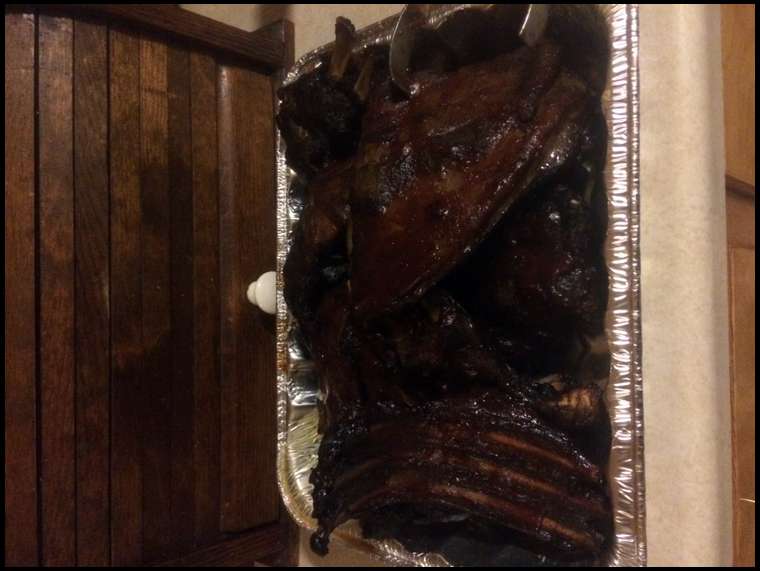
When I checked on the progress about 1.5 hrs into the initial 3 hr smoke, there was fat dripping off them. Which was my intent.
I also did my antelope ribs a few weeks ago, but I braised them and them put them in the slow cooker - they were good, just not as good as these WT ribs. Maybe it was the cornfed Nebraska spike buck too :)
I probably wouldnt recommend searing/braising these kind of ribs as it will lock in the 'tallow' taste you are not wanting.
These ribs fed 4 adults [and 2 of them ladies], with leftovers - who absolutely loved the taste.
Let em drip...
Low and slow...
And if you're looking, you aint cooking
I hope to have some muley ribs next week, but tonight I'm having pork baby back ribs smoked 2-2-1 with the Tony Roma's Carolina Honey sauce. OMG!
When taking the ribs off the carcass, you want to leave as many layers of meat on as you can. There will be layers of fat between the meat, but thats ok.
Obviously, the rib bone is thicker near the back. I took my sawzall and split the rib cage in half, front to back, about halfway down. Then I sawed them along the back. Took a knife and separated them into cooking sized chunks as seen in the first pic above.
Be sure to remove any/all blood shot areas
Happy smoking!
I can't remember the exact timing of each stage --- she had Dad cut them into about 6 inch pieces (front to back with his sawzall) then boiled them in a BIG pot for about 45 minutes, drained the water WITHOUT having the ribs touch all the fat floating on the top of the pot.
Fresh water - repeat step one exactly.
Dad always made his own BBQ sauce - he would slather the sauce on and put in the BBQ grill (briquettes only - Dad did not like the taste of gas grill). Get the ribs up away from the heat as far as possible and cook for a long time - (only time he opened the grill was to add a few more briquettes - - as was said "if your look'n, you ain't cook'n").
I can't remember how long he left them on the grill, but to us kids, with the smell, it felt like all flippin day.
Completely separate question but has anyone run a Bradley when it's like 20 below? Does it work? I bought a super cheap smoker a couple years ago, and I can essentially only use it when it is above freezing, which is like 6 months of the year here.
The 3-2-1 method only consists of the first 3 hrs of smoking. The other 3 hrs are just slow cooking. Some may say the 1st hour of smoking is enough, but all depends on your taste and what wood you use.
As far as using your smoker when it’s cold, mine won’t work well when it’s cold. I had to bring it in the house last winter get the unit warmed up before i didn’t get the ‘error’ message.
Or I may do part of them with my pork rub and a sweet sauce to see which I like better.
We used to have a cheap MasterForge smoker from Lowes. Like you guys mentioned above, it was lucky to get up to 150 in the cooler months. After building our own smoker this summer, I have come to realize that I think the water pan in the MasterForge one covered too much of the bottom and blocks the heat..... Studying it to help in building the new one is when I come to realize the water pan is too big and solid to allow heat to get above it easily. Just something to think about and see if you can't work around it if that is your situation.


Thats a nice unit! Can you control your damper on the smoke stack?
If anyone uses the smaller electric units, be sure to leave the damper OPEN during the smoke time. Then close it during the cook time. At least thats what has worked well for me

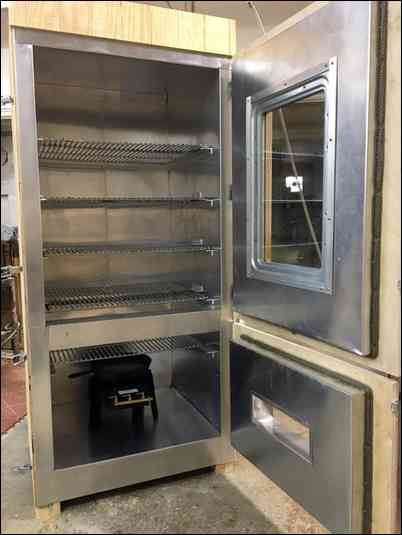
The burner we ordered from Northern Tool. It has three sections, but once up to temp we usually only need one in the summer.
We lined it with sheet aluminum. The local lumber yard let us use their metal break to bend the big pieces. The smaller pieces we bent by hand with two pieces of flat steel and dead blow rubber hammers.
The shelf on the side slides down and hooks on three bolts. Just pick it up to remove it for storage. The shelf brackets were my first ever TIG welding project.
The sides are insulated with 1.5 Styrofoam sheeting. The little piece of plastic pipe sticking out the side is for running the meat temp probes inside.
I was shocked how well it works and how evenly the heat is distributed. Normally not more than 5 degrees difference between the gauge on the side and the two on the shelves.
So far we are just using cheap, disposable aluminum pans from WalMart for the water pan. Two or three uses then throw away. Its worth the 1 or 2 dollars per smoke not to have to clean a water pan up. It just sets on that rack you can see in the bottom.
We're pretty proud of it. Just thought you guys might like to see it and get some ideas.
We have wheels on the back of it cause we had planned on rolling it in and out of the shed. WRONG!!! This thing weights a ton!!!! It stays put and we just cover it with a tarp. Next is to buy some marine tarp material and a long zipper and make a nice looking cover for it.

