Contributors to this thread:
I posted this picture on the "Razza's thanks bowsite thread" and had a few guys asking about size and height. I'll post a few pictures I had on my phone to show how I alters the pose and did detachable antlers to meet my clients ceiling and door restrictions.
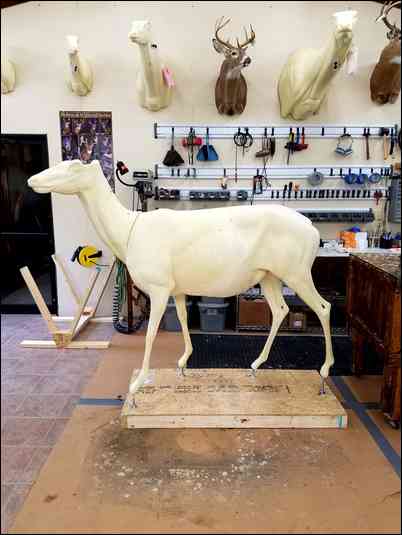
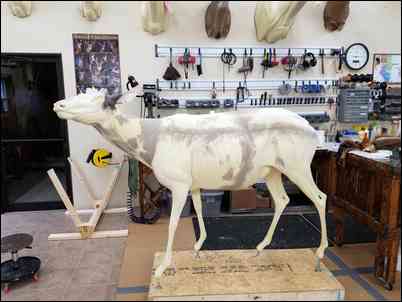
This is the form I started with.
Feel free to ask any question.
Razza's Taxidermy Studio Bowsite Sponsor
Fred had low ceiling at 95" and door width of 36" and wanted a life-size elk. The form we started with put the horn tips right at the top of the ceiling. I altered the head down and tilted the head back to create more clearance. I also gave him a deep chest for a more mature look. This gave me a finishes height of 85" with the feet 6" from the floor for a base.
I also added about 3" in girth and 2" in lenght so the hide fit rhe form.
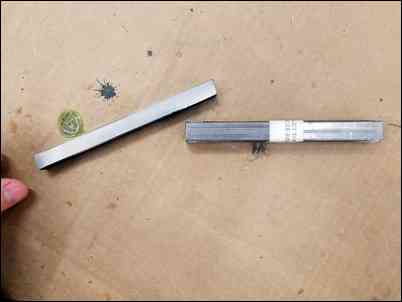
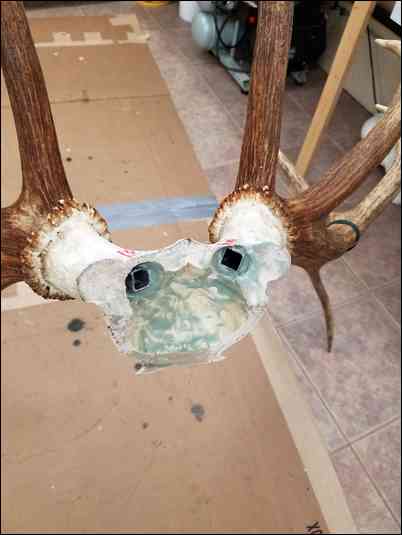
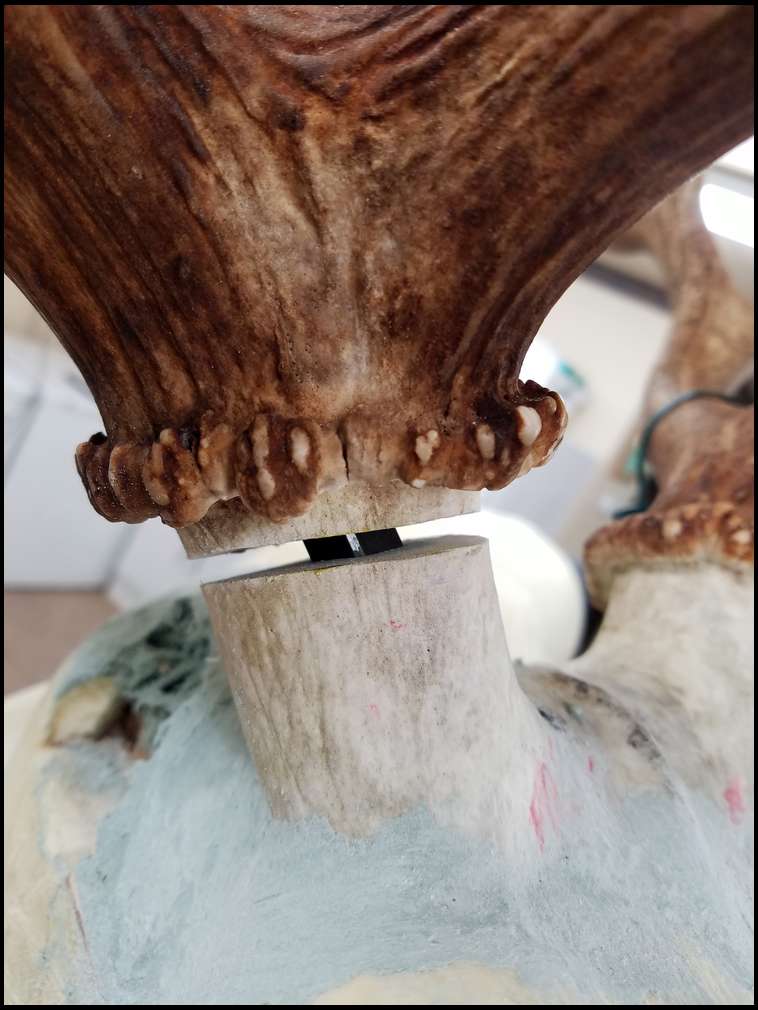
I needed to do detachable antlers to fit through the door. I start with 6" steel machined to fit tube.
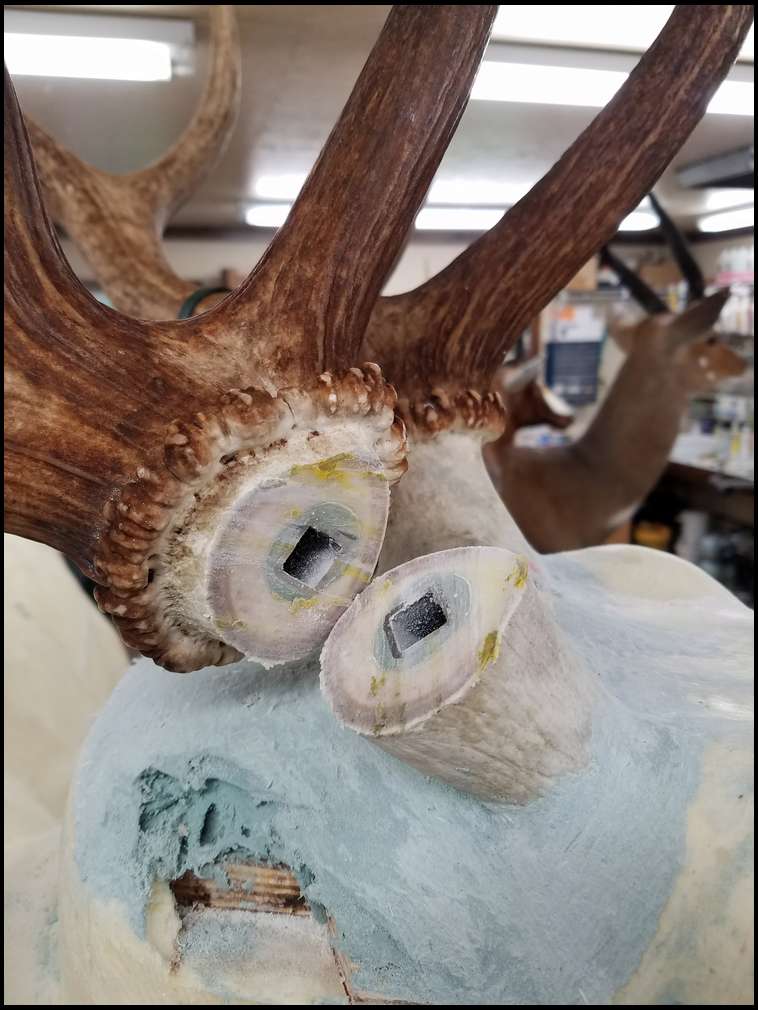
I put 3" in the antlers and 3"in the skull.
I fiberglass the female pin.
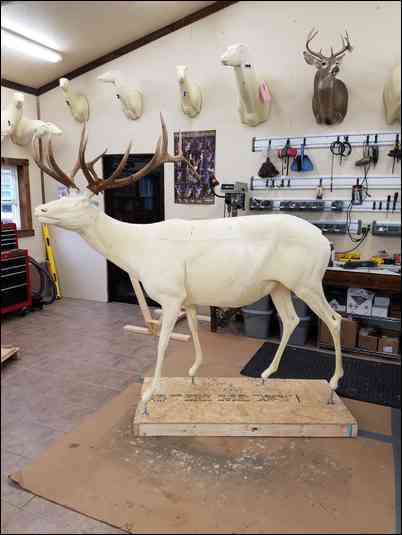
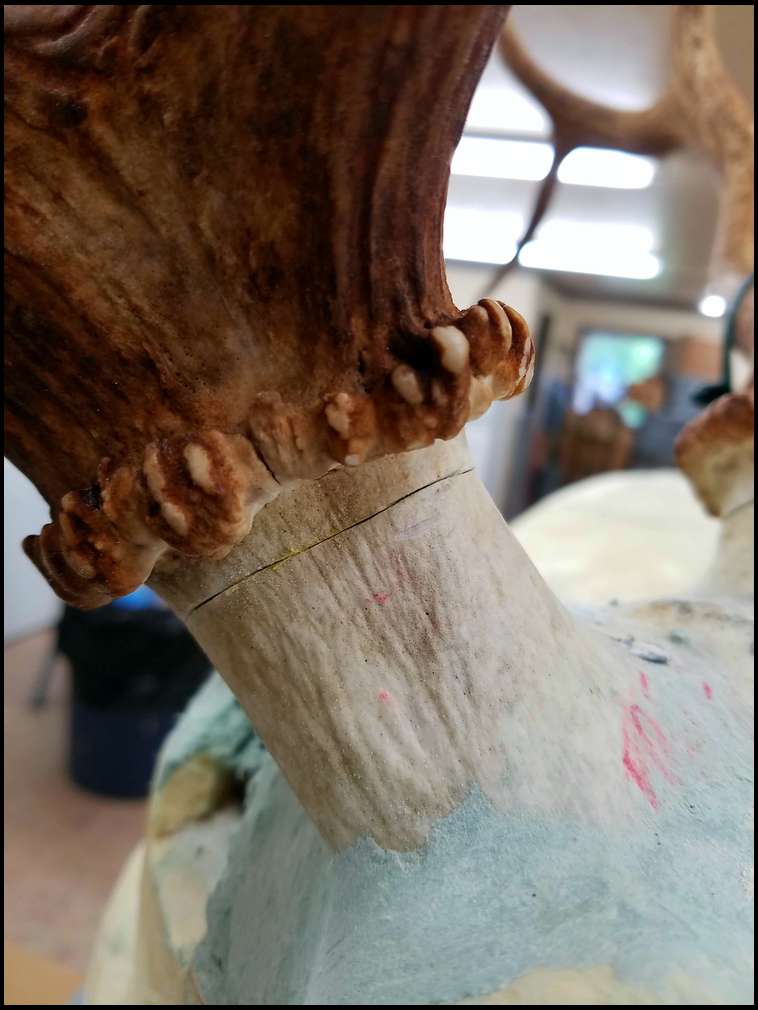
I mount the horns on the form then cut the horn off. Having the metal tub through both sides makes for a perfect fit every time.
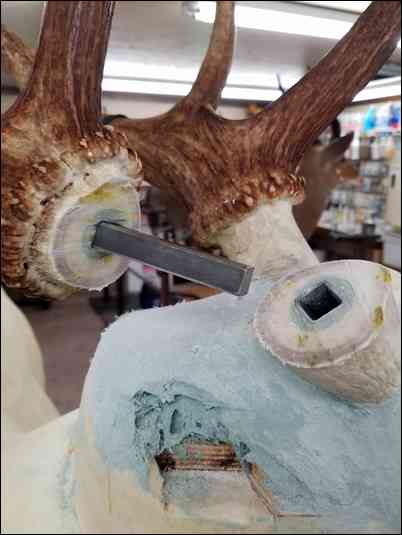
I slide the male pin in one side then put together.
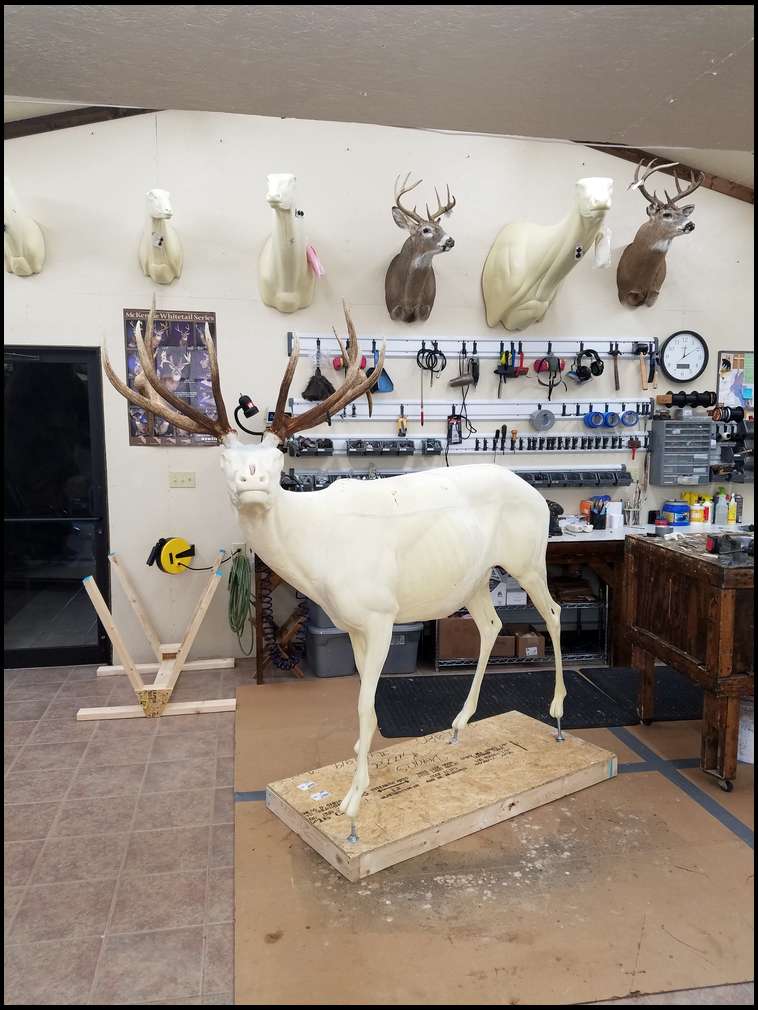
After I make sure it will fit through the door and clear the ceiling restrictions I can clay the form and mount it.
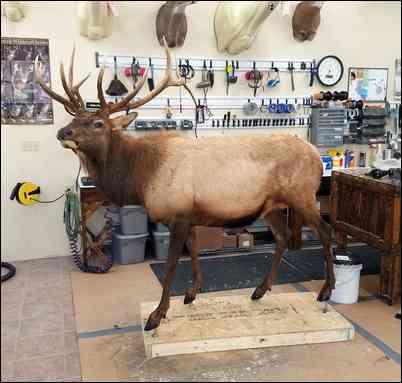
Here's the finished mount before I painted it.
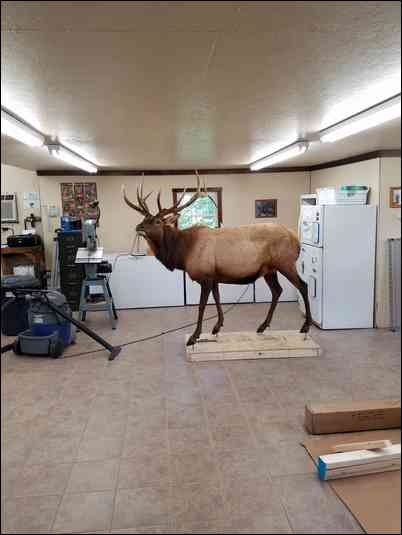
And here is a picture under 92" ceiling.
Thanks for following and hope you enjoyed!
Very Cool! Thanks for the Post. Always wondered how that worked.
We are very lucky indeed to have you share your secrets. Your Artistry is a beautiful thing. C
Sweet trick, some good stuff.
Outstanding Dennis, that thing looks as real as if he could just take a step off the platform and walk away.
Great work Dennis ! He looks as if he could bugle any second !
I have 1 of my elk mounts (shoulder) that I had to have removable antlers to get it into the house then into the TR.
Dang good work Mr. Razza
Good luck, Robb
Awesome thread, always love seeing the projects. Thanks for sharing!!
I always love these threads. Thanks for taking the time.
Dennis- is it possible to put a peg antler system into an already completed mount?
Obviously much cleaner and simpler to do on the front end-
That is cool! Thanks for sharing.
beautiful job as always,,,,thanks gib
Awesome... great work Dennis, as usual. Ed F
Thanks guys!
Scott, it is possible to do detachables most of the time on old mounts.
Dennis if I lived closer I would work for free just to watch your work!
IMpressive work. Thanks for sharing the process
G
How di'ja drill a square hole??? =D
Great job and thanks much for posting this up. Gave me some ideas, learned a good way to have things matched back up after the cut. I have to do something similar when doing a velvet euro, can't put the velvet in wid da bugs....... so we drill from under the skull into the antler, cut right at the pedicle line and use marine tex epoxy to reattach, the white epoxy matches the whitened skull so well, have to look real hard and close to see the seam.
It's a lot of extra work.
Very nice! Thanks for sharing. My wife is going to say no but I'm going to ask anyway!!