Contributors to this thread:
Thought I'd share a little arrow saw project build project I worked on the past couple days. It's been fun and challenging. I tried this a couple years ago with a Harbor Freight cut-off saw but it was big bulky and noisy. I have a decent small cordless Dremel Micro so I decided to make it work.
For starter supplies, I bought a cheap wood clamp from Harbor freight and disassembled one end and removed the clamps. The only other purchased part was the Dremel...which I had for other purposes.
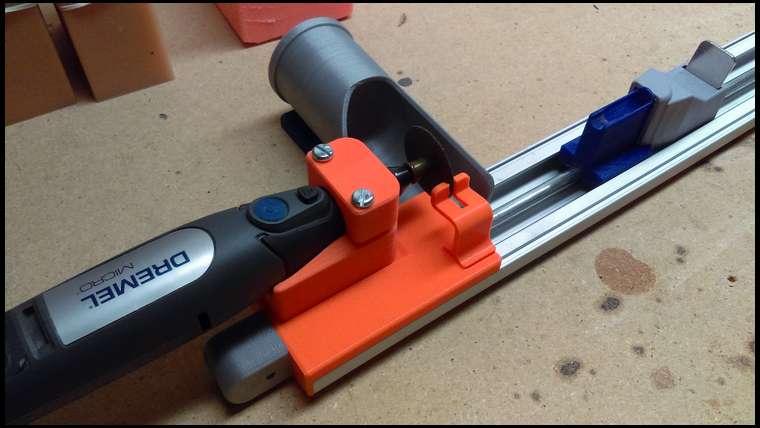
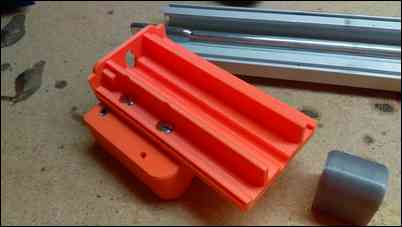
Here's the finished product but I'll show some of the piece parts I made to get here. I designed all of the 3D printed parts with Autodesk Inventor Pro, then transferred the files to my 3D printer and hit the "Make Awesomeness" button. This is what I got.
How much did it cost? I believe the clamp was maybe $8-$10 on sale. The raw material plastic pieces cost about $8 max.
The nice things about aluminum extrusions (yes even cheap Harbor Freight clamps) is they are generally structurally/dimensional consistent. Since I took the cap off this end, I designed a new cap that would fit an fixture all the piece parts I need.
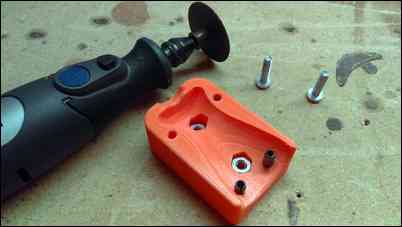
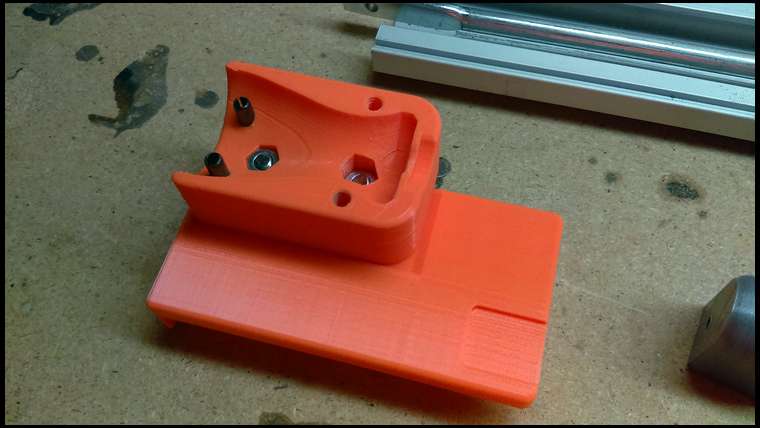
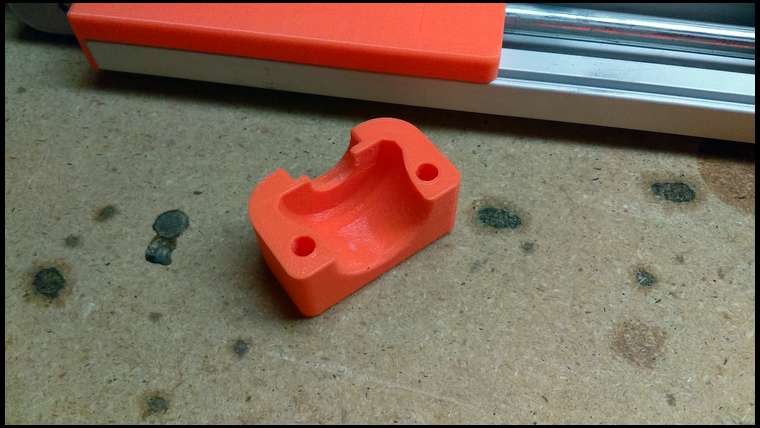
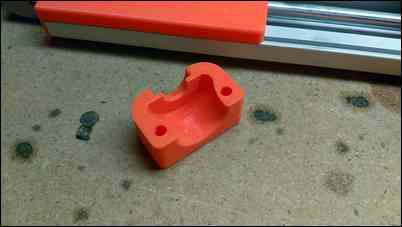
Next I needed to fixture the cutting tool. I designed this part to essentially be a reverse mold of the Dremel. I used a caliper to get close and made a few test profiles to make sure it was right. The spring pins help align to some holes that are on the tool. Prevents rotation as well. Bonus. I also created pockets for some hex nuts so I could mount it to the base previously shown.
following...
We've got 3 of them at work now, Jason, and they're pretty much running 24-7. Amazing the things you can create with a 3D printer!
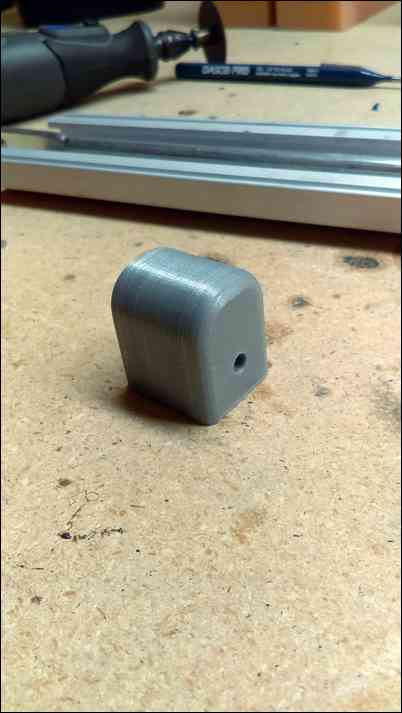
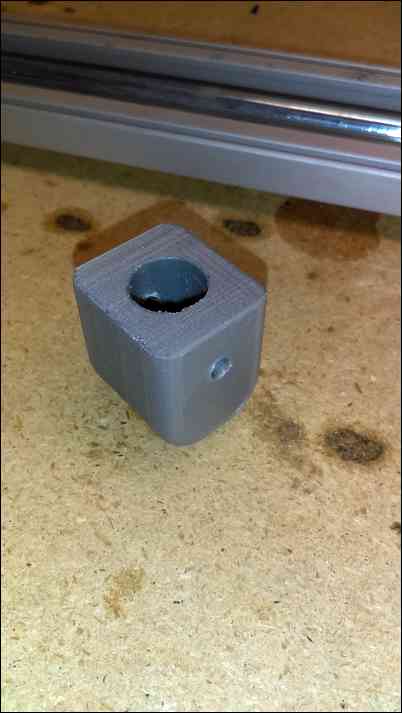
Now we need a cap for the end of the rod. I just made a simple cap with a hole for a retaining pin.
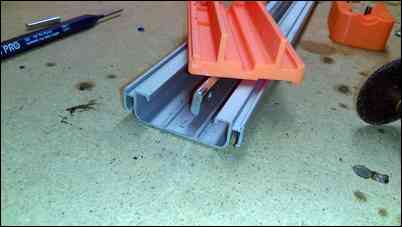
What about the arrow support? Well I disassembled one of the clamp pieces and designed my own version to support the arrow and slide in the extrusion. Also, for dust mitigation I have this vacuum cleaner adapter that slides into position. Since this cutoff tool is smaller, I might make a new version and incorporate a guard for the top of the blade.
Alright, now lets put stuff together.
Forgot about the cap. The profile fits the top of the Dremel. Clearance holes are for bolts. Taps go in to base. Typically, I don't like to tap into the plastic.
And we're done. Now it's time to start cutting and building arrows (hence why I was asking for vane color preferences earlier this week).
Nice job ,,excellent explanation of everything that you did,...I won't buy anything that I can fabricate myself,,,feels good in the end when she works perfectly...old school thinking,,we need more guys like you...
Question: What are the spring pins for where the Dremel tool mounts?
On the bottom of the dremel itself, there are two counter bored holes. I just used them as an extra fixtureing opportunity and to prevent any rotation. This afternoon I cut down a dozen FMJ's. It worked very well and cut square.
Good stuff. I considered an arrow saw at one time but never did so after buying from Bowhunter Supply store. Their prices are competitive and they cut the shafts to length with no issues. I just square them up as needed.
Hey thereYZF-88...
Any chance you've got these files hanging around? I've got that exact clamp and Dremel sitting in my garage waiting to be put to use!
That’s awesome! I wish I had the capability to do the same. Great work!
Very cool project, Jason! Thanks for sharing the “how to” with us.
Very nice end-result project. Congrats
Would you be willing to sell the 3d parts as a kit? I actually have this clamp and a dremel!
Would you be willing to sell the 3d parts as a kit? I actually have this clamp and a dremel!