
Woodcraft 2023
Contributors to this thread:Massachusetts
From: hickstick
01-Jan-23


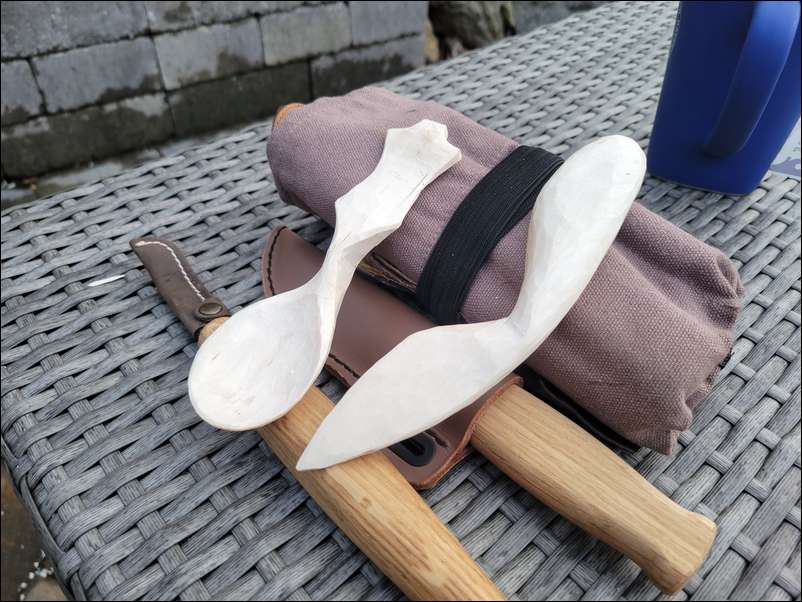
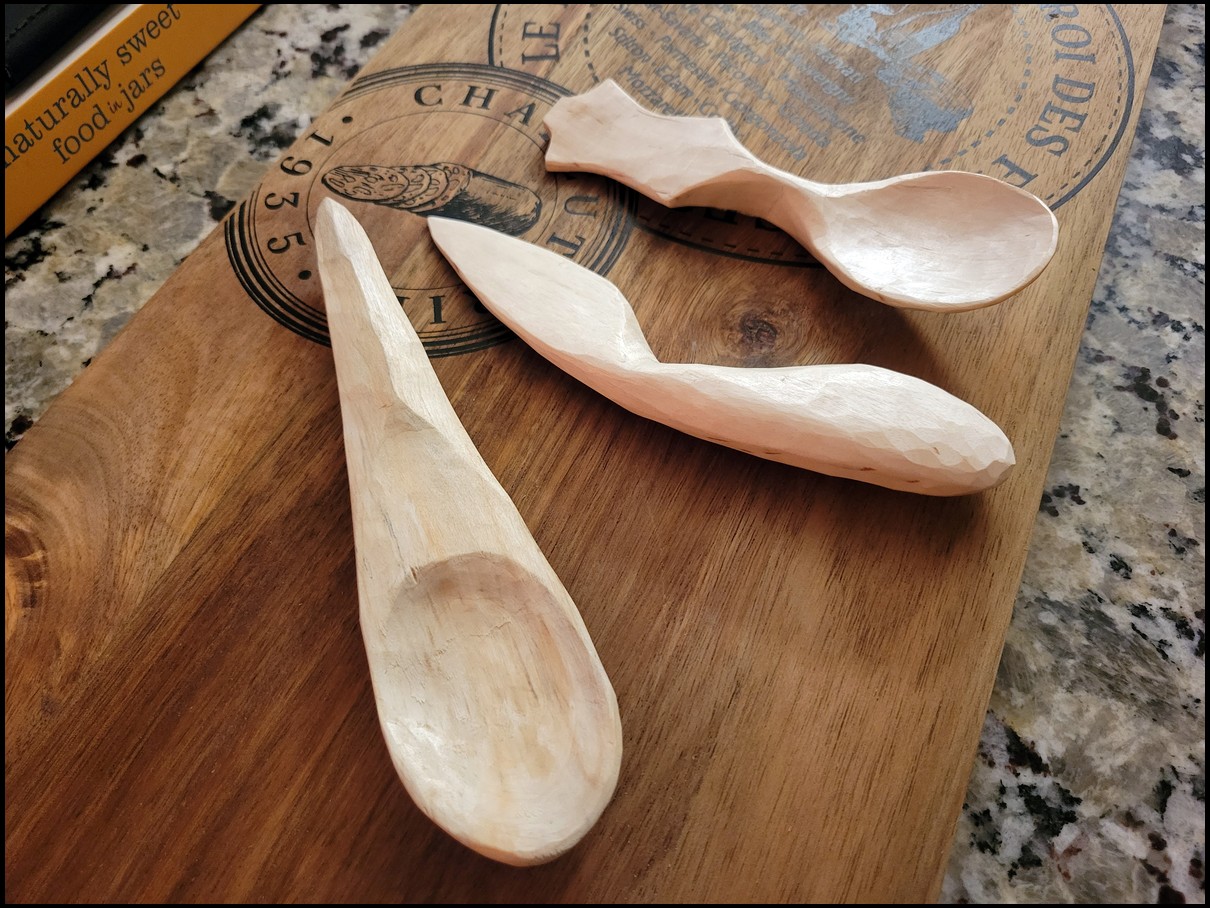
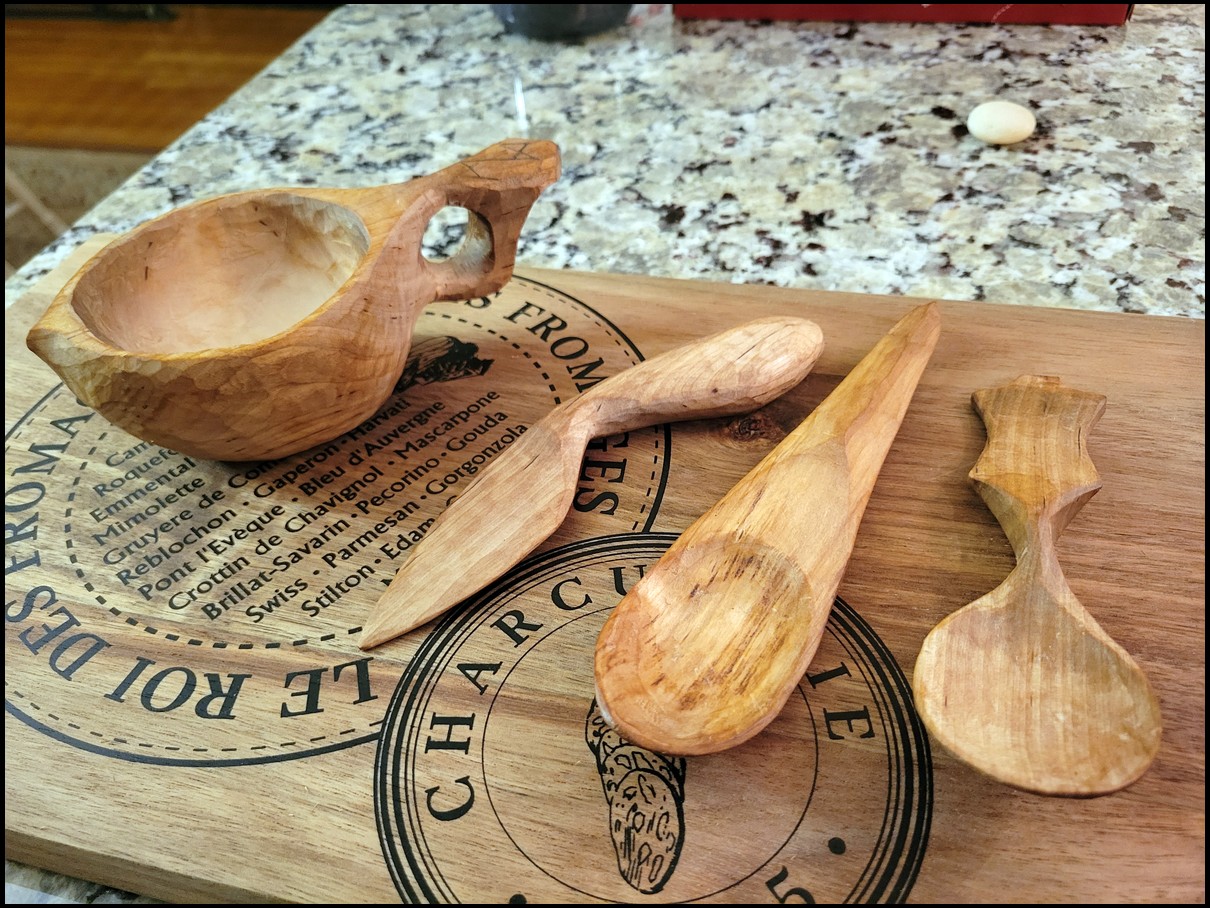
Spent the 1st day of the year doing some finishing cuts and burnishing on some greenwood Spoons spreaders. These are completely hand done, from cutting the tree with a hand saw, splitting and roughing with a camp axe, and carved to finish with knives. No sandpaper even, just light burnishing with a smooth beach pebble.
They will be oiled and baked to carbonize the wood and polymerize the oil finish.
From: hickstick
01-Jan-23

From: MA-PAdeerslayer
01-Jan-23
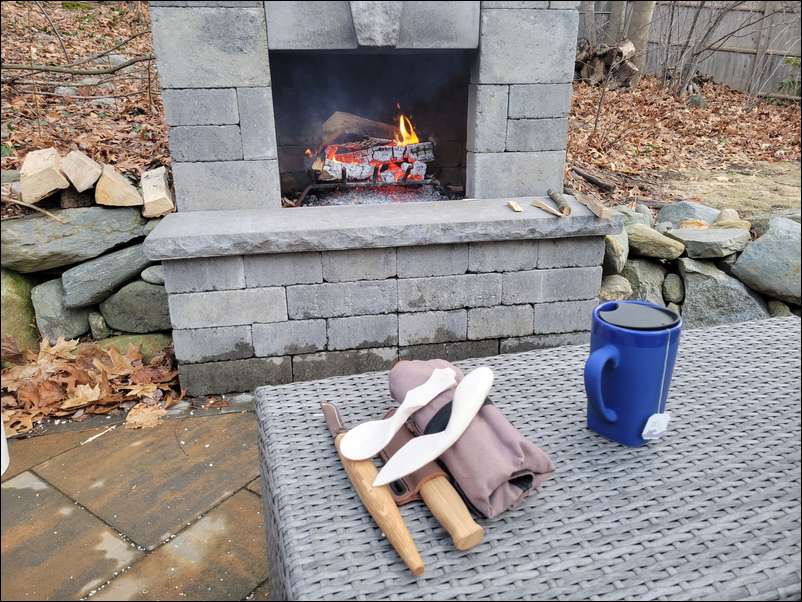
I was gonna suggest “you should bake em in a fire” …. Looks like you may be doing that already lol
From: hickstick
01-Jan-23
Lol MaPa. ..the fire was just for warmth. Not for the baking. Lol...
From: MA-PAdeerslayer
01-Jan-23
Oh Come on. Been all “primitive” till now! Don’t start using modern technology now! Haha
From: Will
02-Jan-23
Very cool Hick. Really enjoy seeing your work with this stuff!
From: hickstick
02-Jan-23
This will also give me something to do I a month or two when I'm boiling sap. Lol
From: matt-r0
03-Jan-23
Very cool. How long/at what temp do you bake them?
From: hickstick
03-Jan-23
Matt....this will be a first for me. I've seen anywhere from 355*F to 400*F for about 30 minutes and you should flip them once if you want. (they recommend checking every 10 min to make sure they don't over-darken).
From: hickstick
04-Jan-23


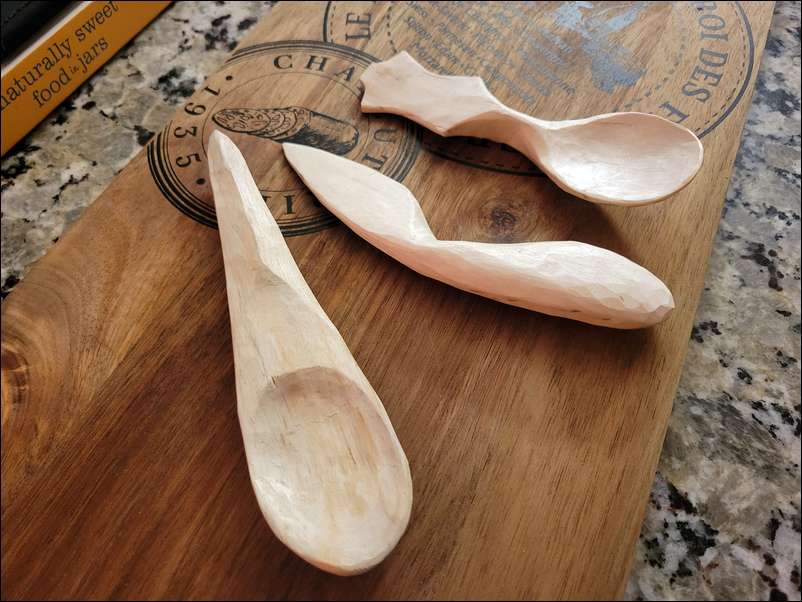
Before and after pics of the carved items after oiling, baking and oiling again
From: matt-r0
06-Jan-23
Nice, what are you using for a finishing oil? I make knives and this is making me think this could be an interesting handle finishing experiment
From: Deerdawg
06-Jan-23
Nothing like a quality handmade item. Its the way to go. Nice work!
From: hickstick
06-Jan-23
Matt, I'm only using Walnut oil. the heating in the oven helps to polymerize it. on my knives I've always either made an epoxy finish, or boiled linseed (neither of which are good for an eating utensil).
From: matt-r0
06-Jan-23
Makes sense, hick. I use mostly synthetic materials or stabilized wood lately because I get impatient waiting on stuff to cure but this might be a fun thing to experiment with
From: hickstick
10-Jan-23

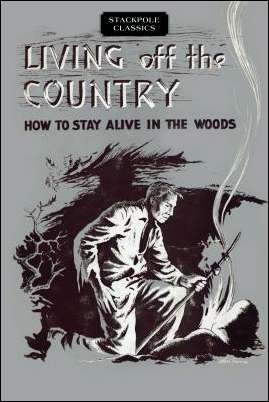
any of you read any wilderness living, outdoor living, outdoor skills type books? wondering if any of you have favorite authors, books, etc.
years ago I found this book in a used book store (I think up in Bar Harbor ME but not positive) I have a couple by this author (Bradford Angier), and find the language style and illustrations sort of 'throwback', but cool and informative.
From: hickstick
31-Jan-23

from split billet axed to rough and sloyd knife to shape.
from split billet axed to rough and sloyd knife to shape.
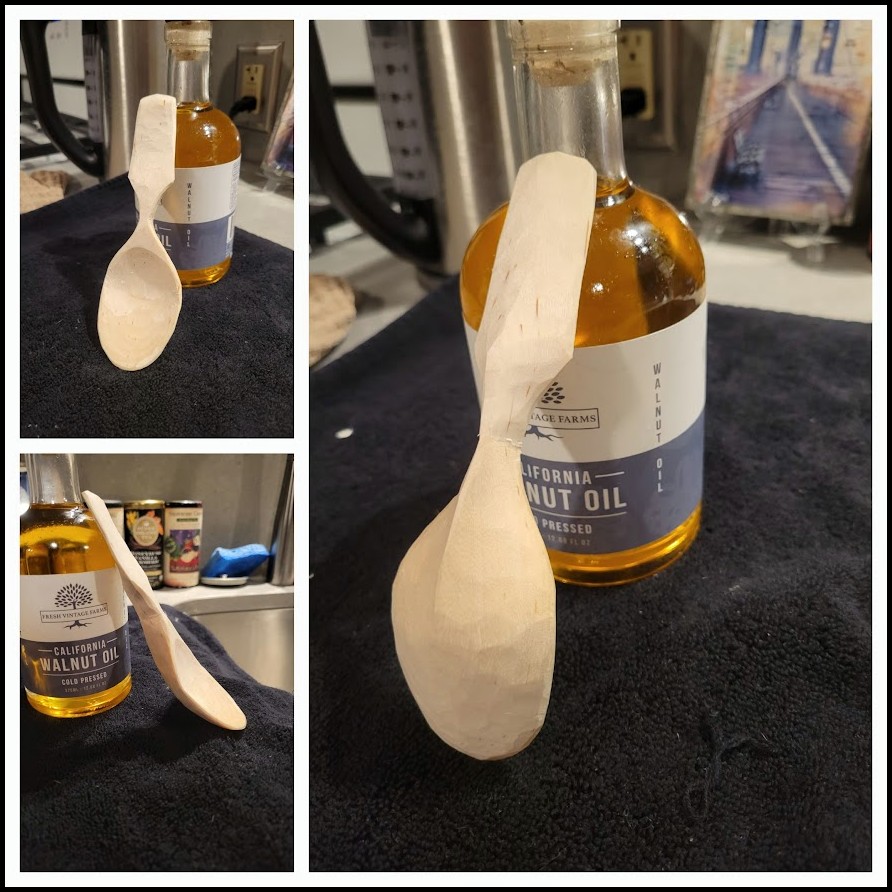
nearly finished.

nearly finished.
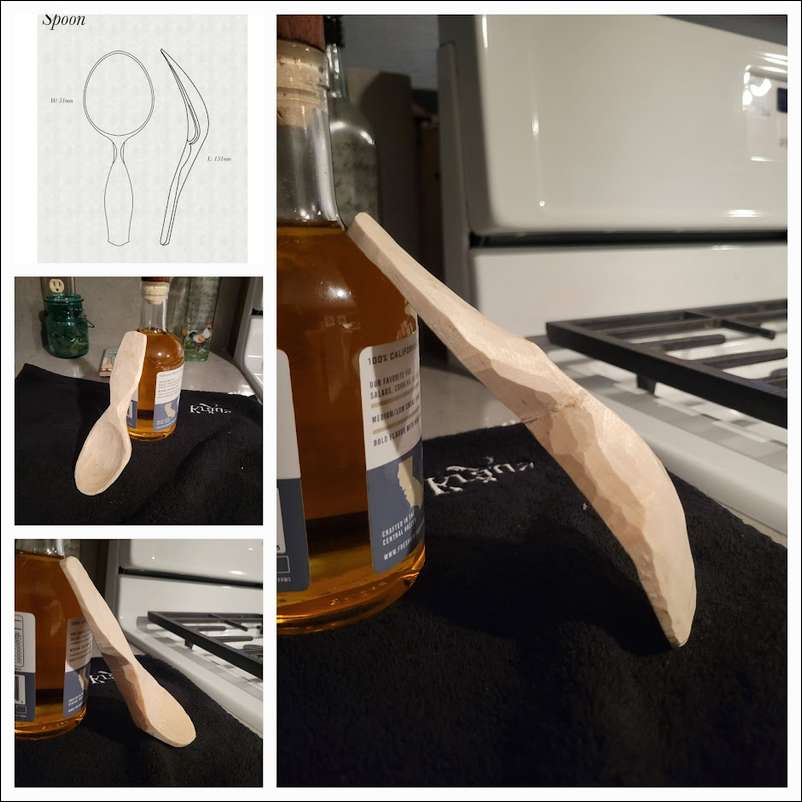
working on some new spoon techniques. 'Crank' is the angle that the spoon bowl meets the handle ...the more crank in general the easier it is to eat off of. so I started working on designing more 'crank' into my spoons. here is a blank that I roughed out of a relatively thin split of birch...probably only and inch and a quarter thick to start (including the bark)...so the crank isn't as pronounced as I want but it works...

